


23 GR Corolla Tail Light Overlay Kit
Dark Smoke/Light Smoke/Red/Yellow Tinted Tail Light Overlays
Features air release technology for incredibly easy installation
Made in the USA
Comes with 4 individual pieces to cover each section of the tail light
Dark Smoke/Light Smoke/Red/Yellow Tinted Tail Light Overlays
Features air release technology for incredibly easy installation
Made in the USA
Comes with 4 individual pieces to cover each section of the tail light
Dark Smoke/Light Smoke/Red/Yellow Tinted Tail Light Overlays
Features air release technology for incredibly easy installation
Made in the USA
Comes with 4 individual pieces to cover each section of the tail light
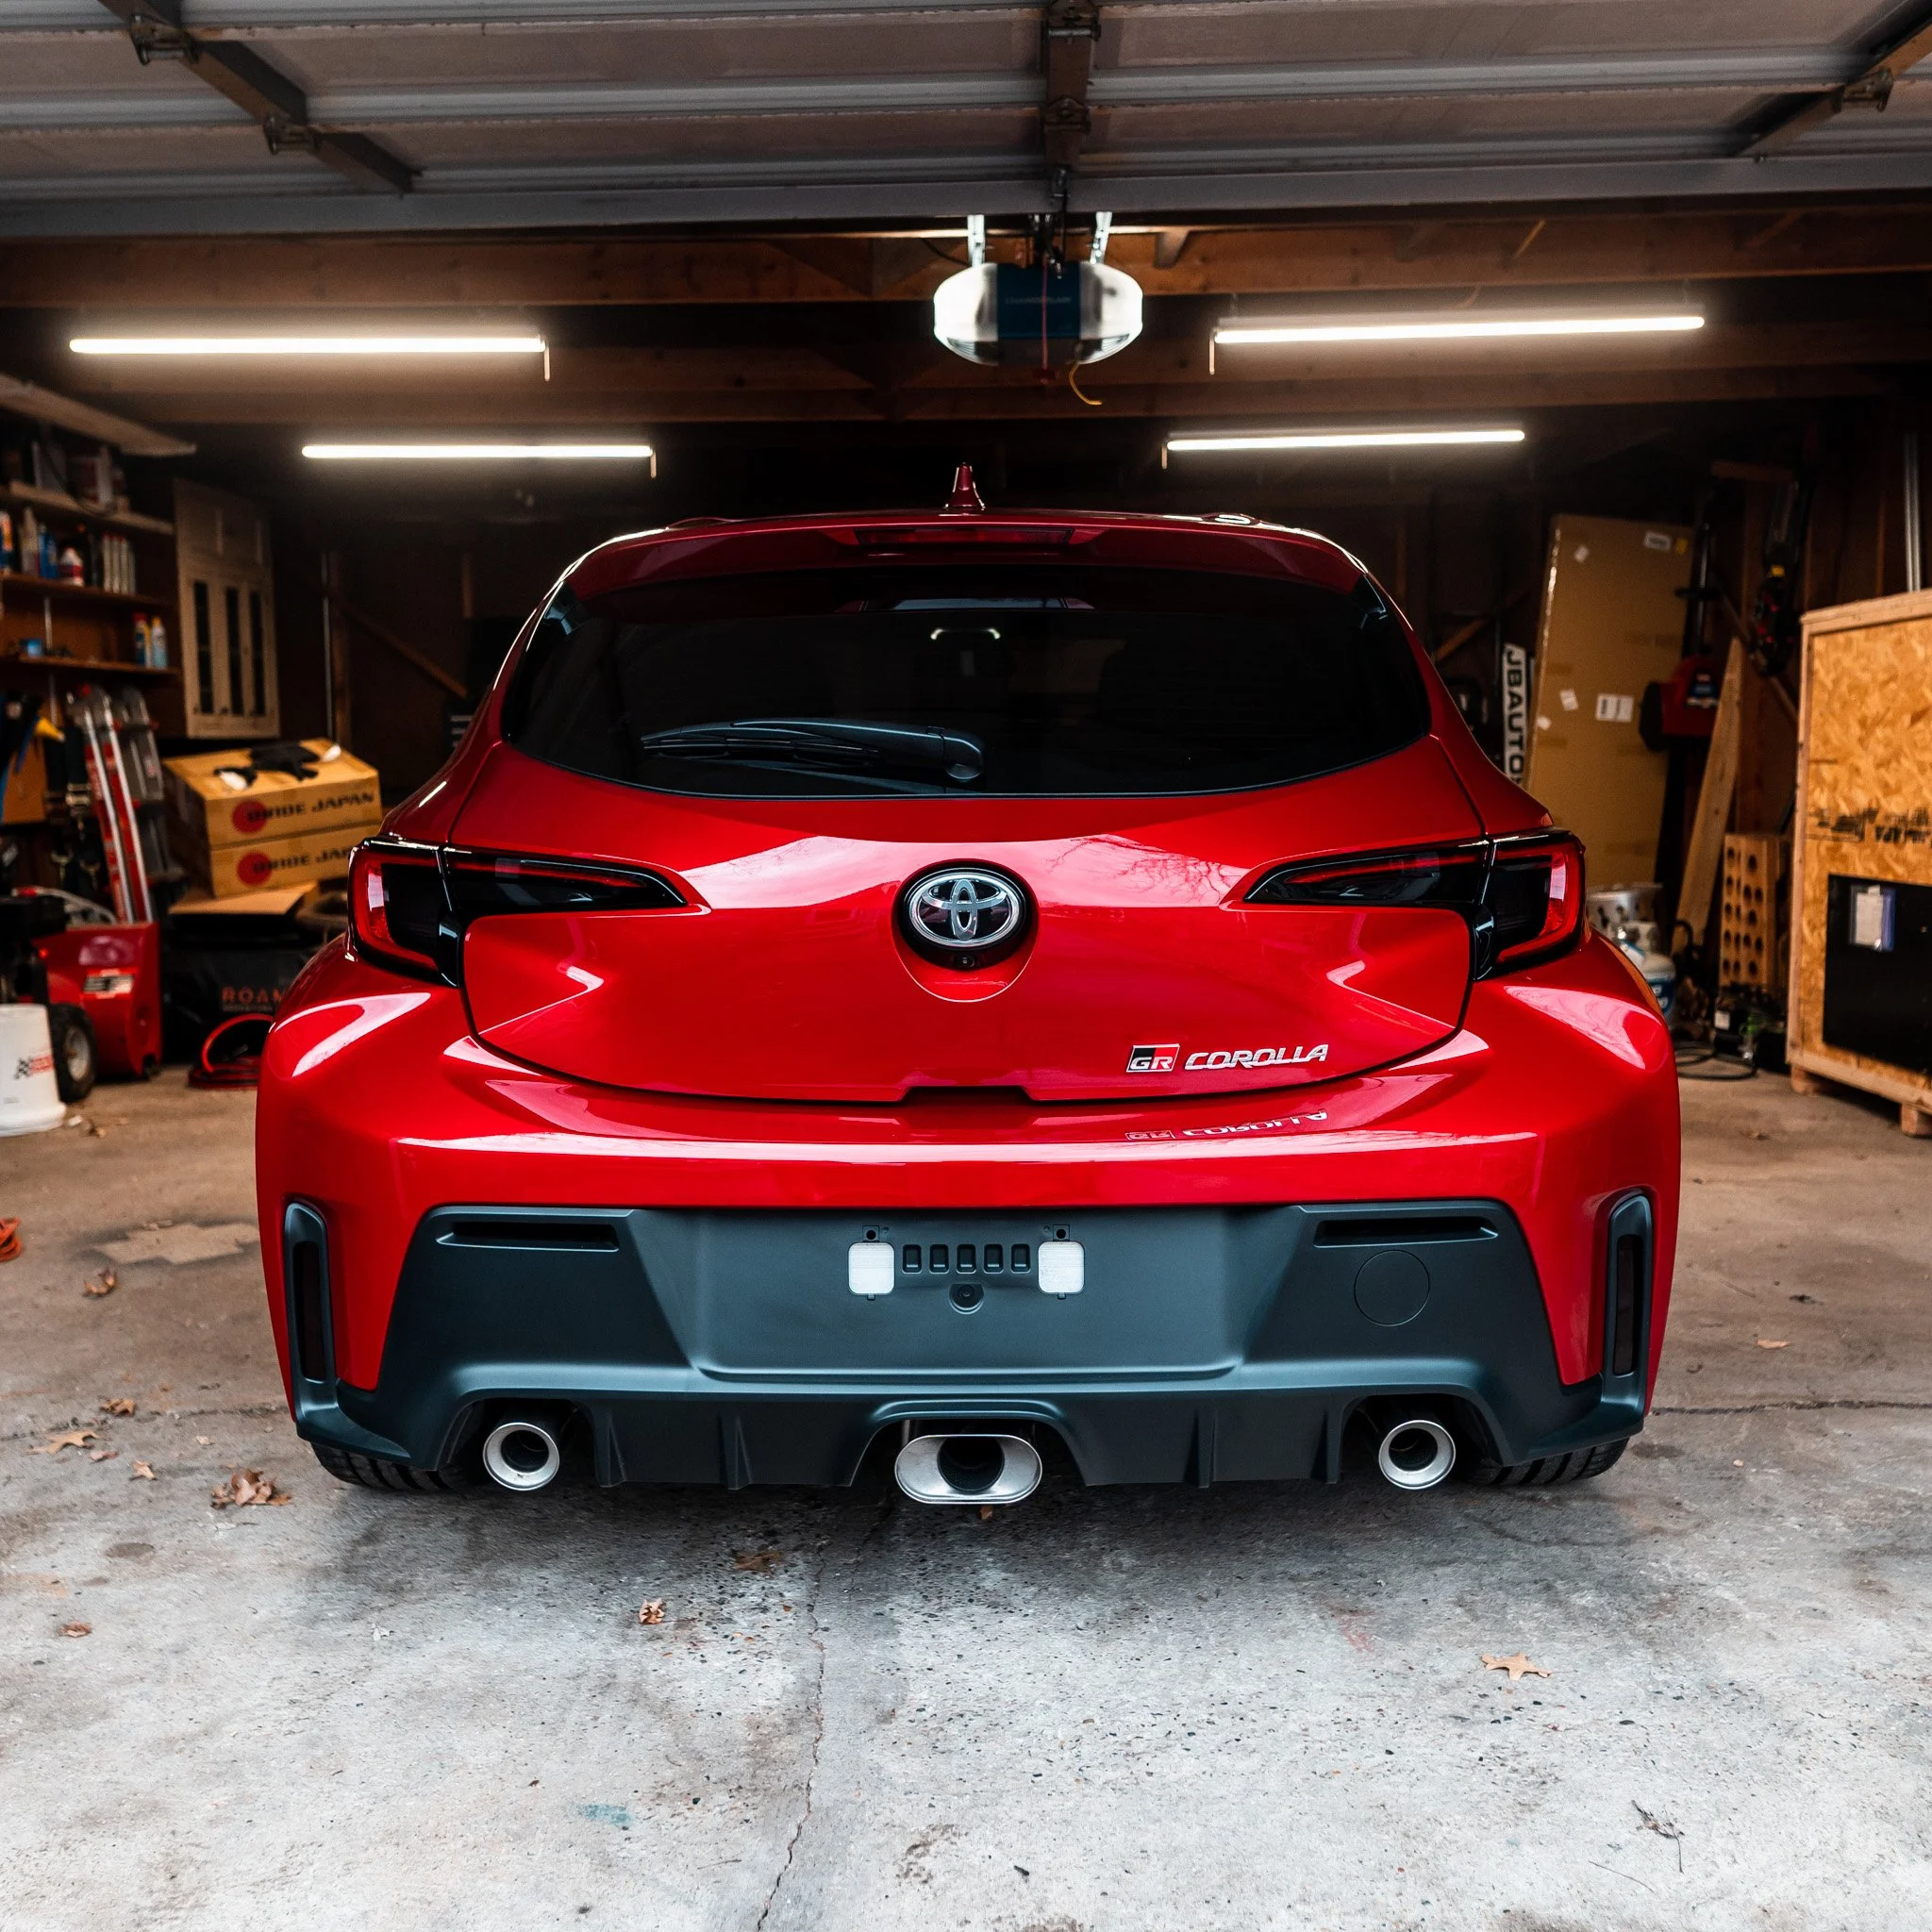
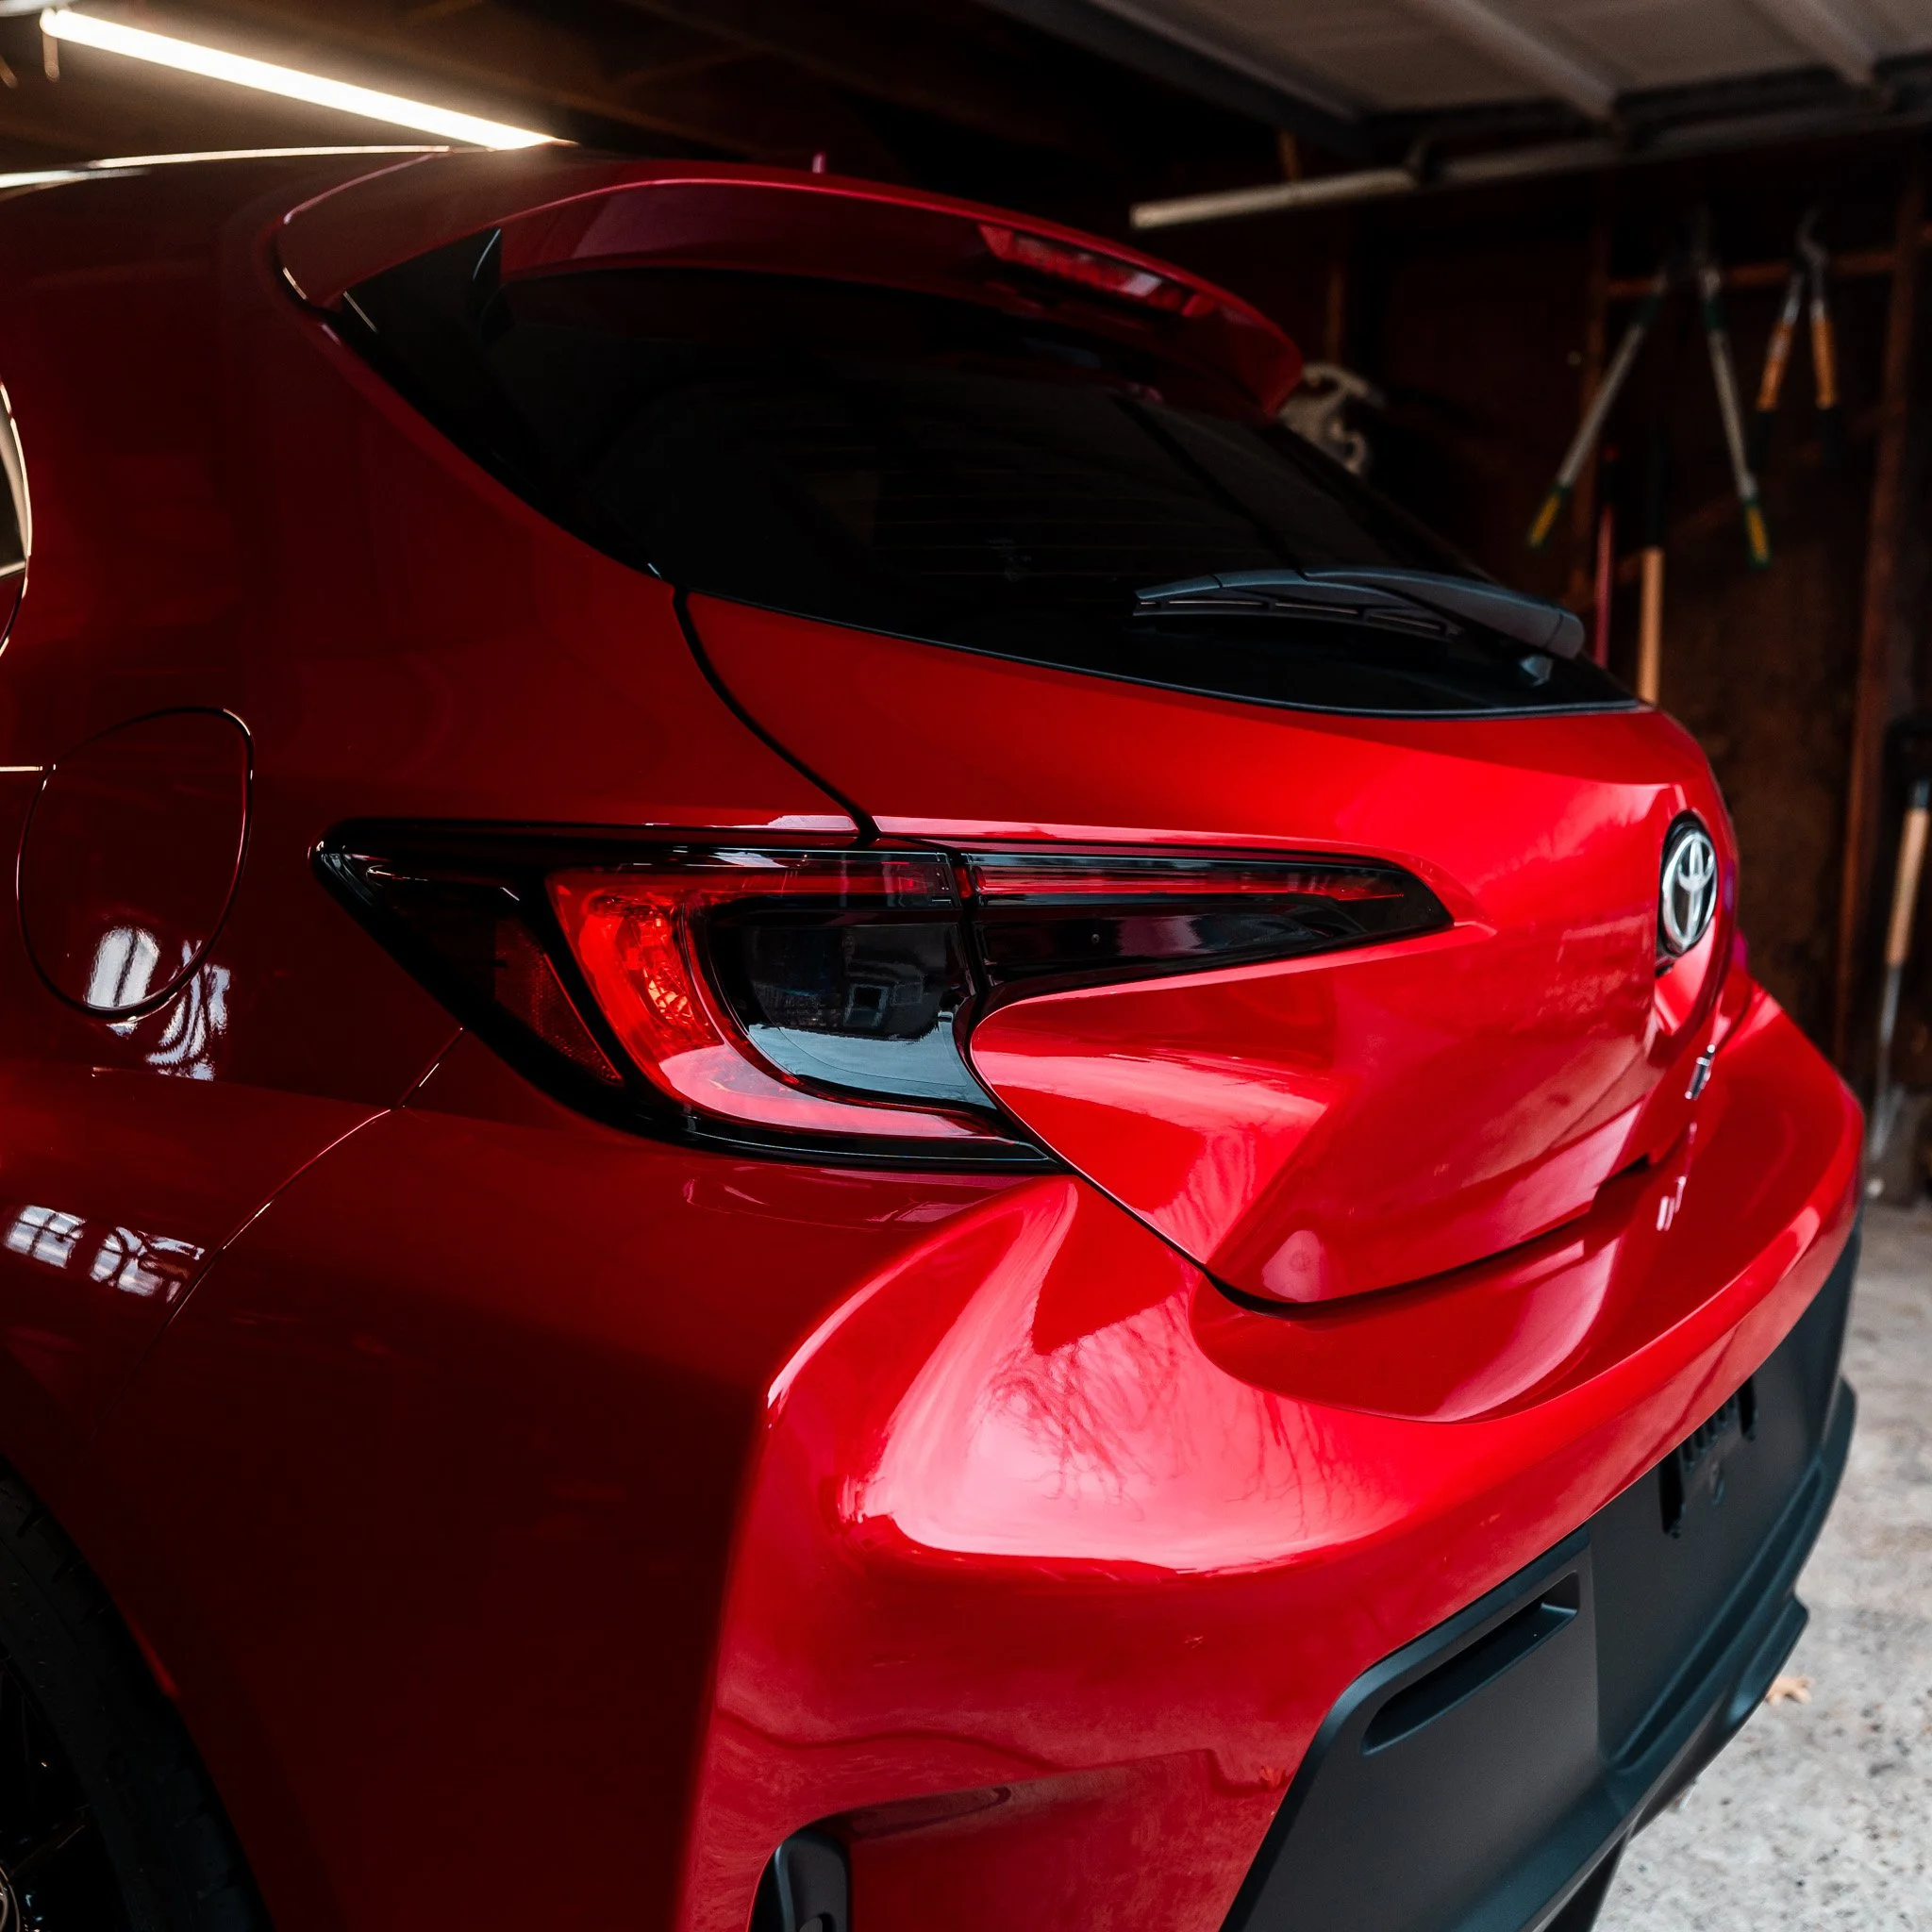
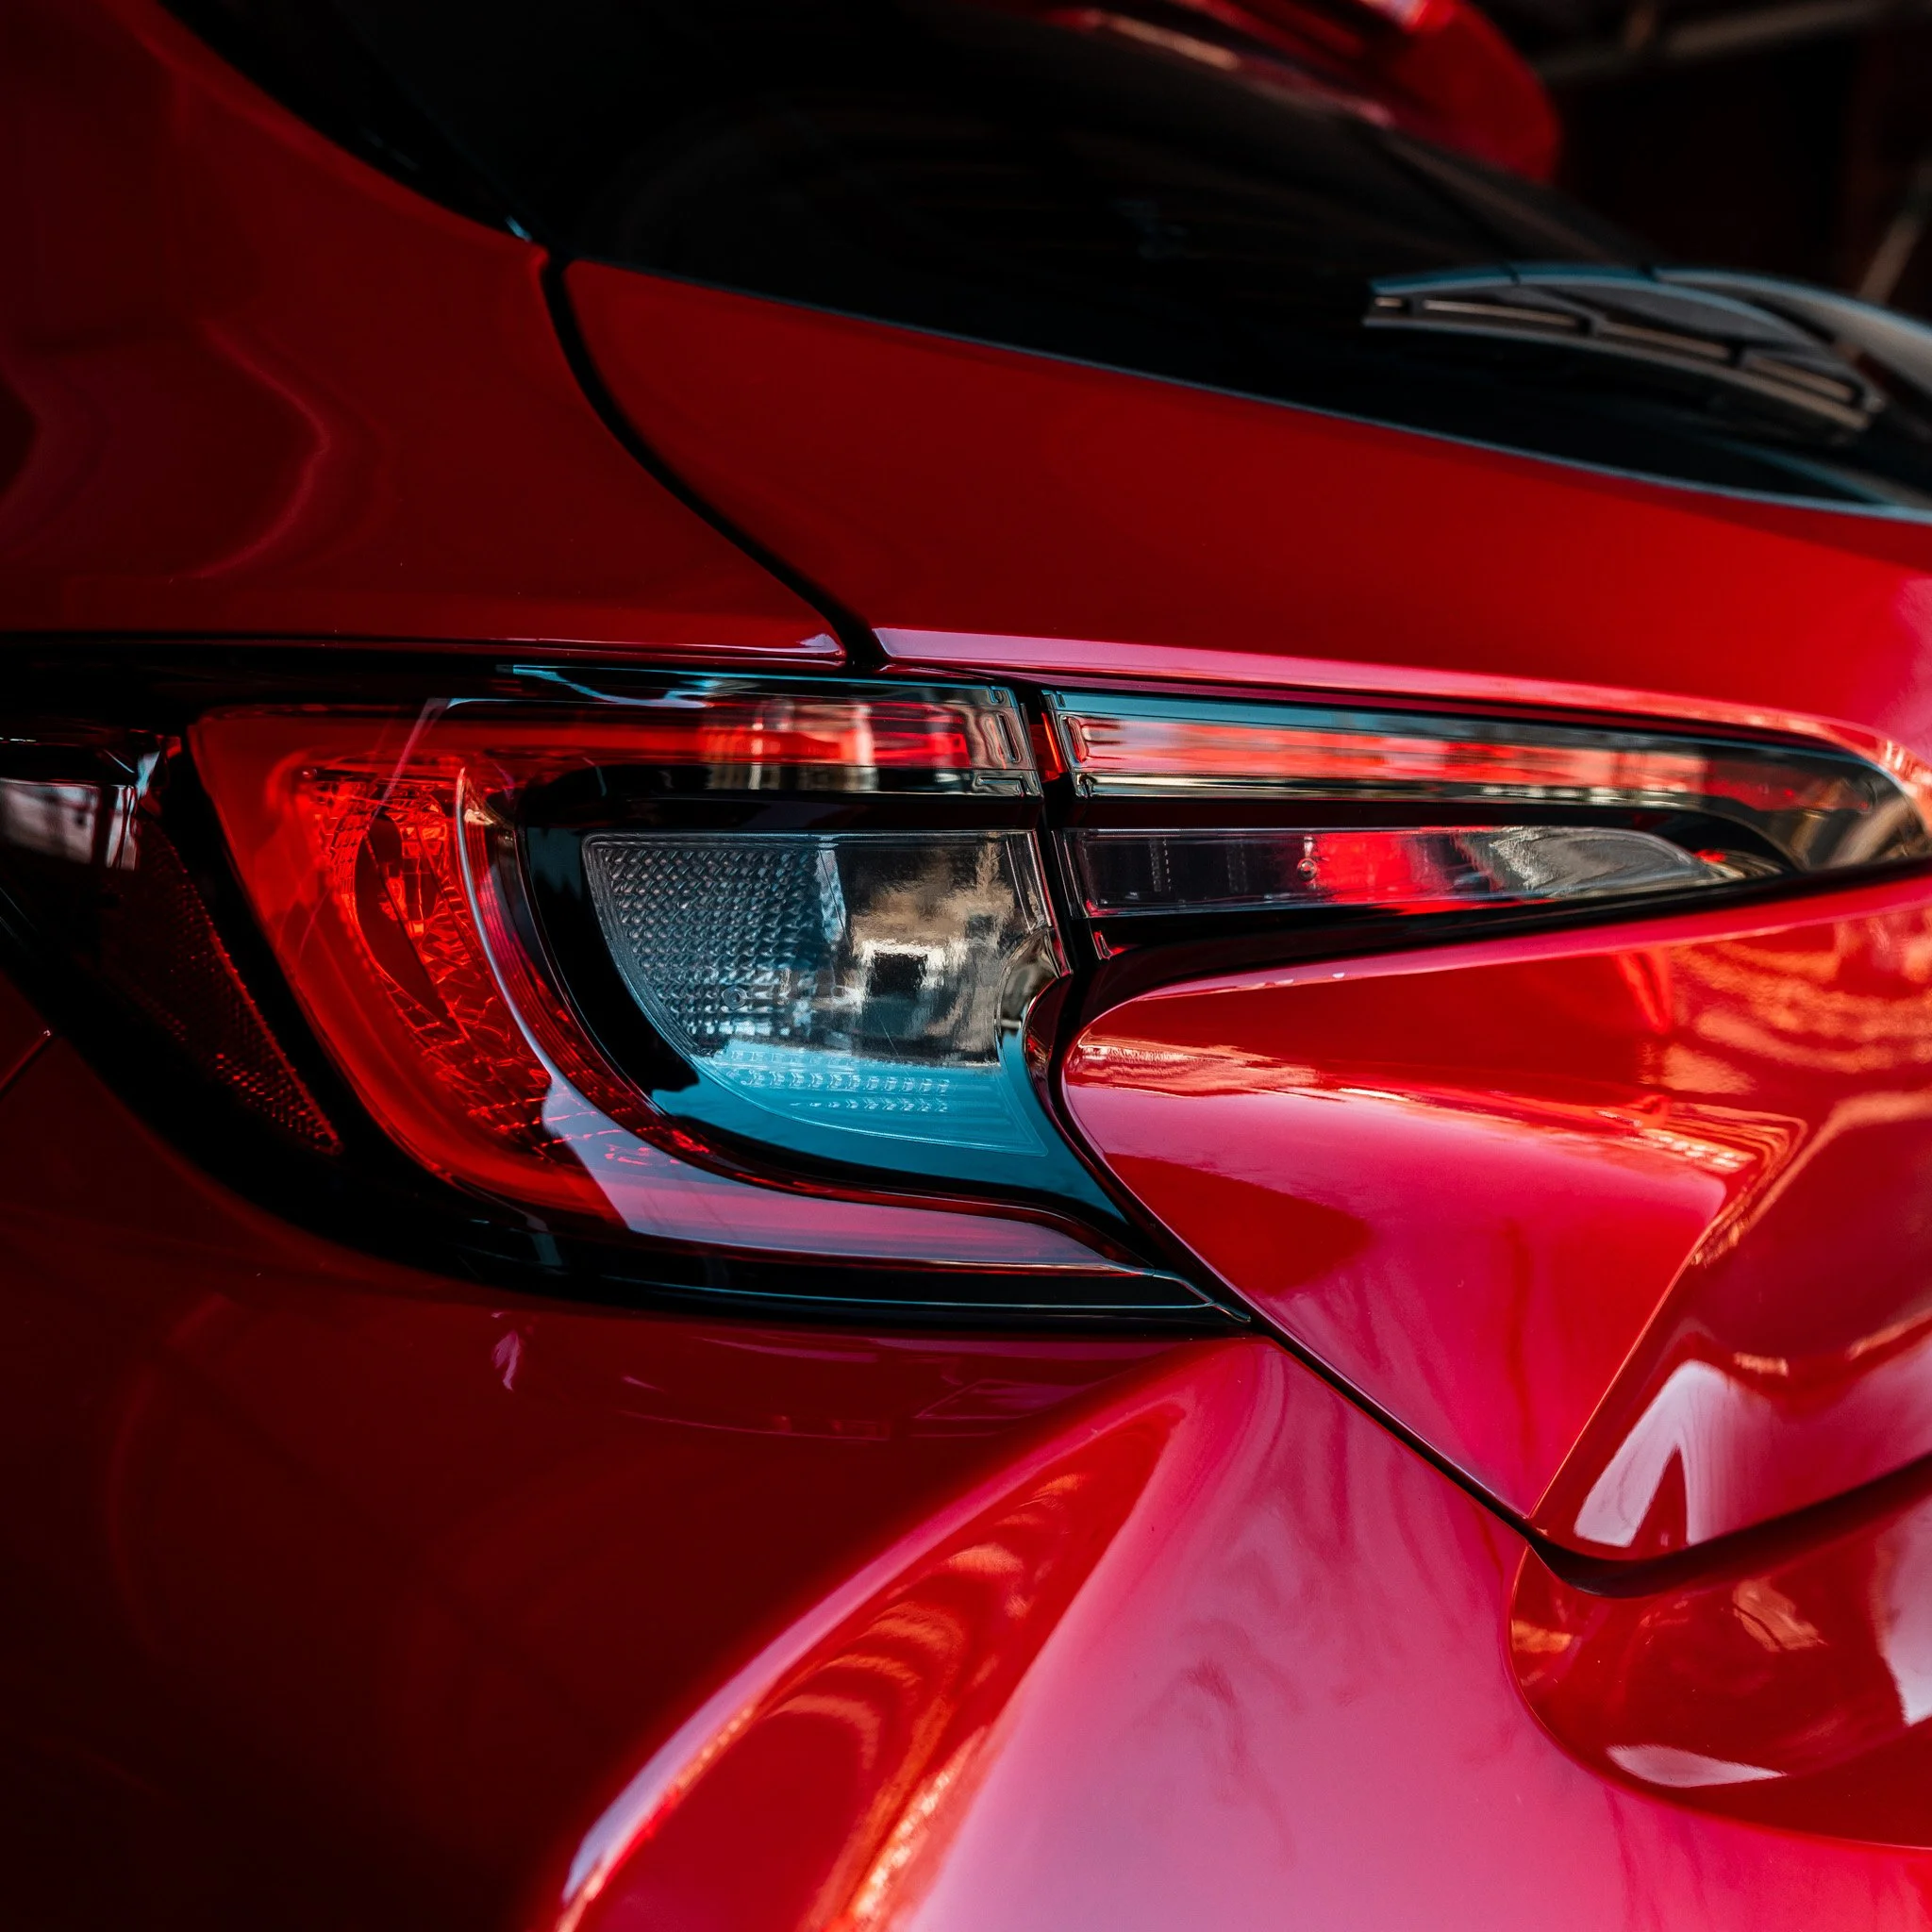
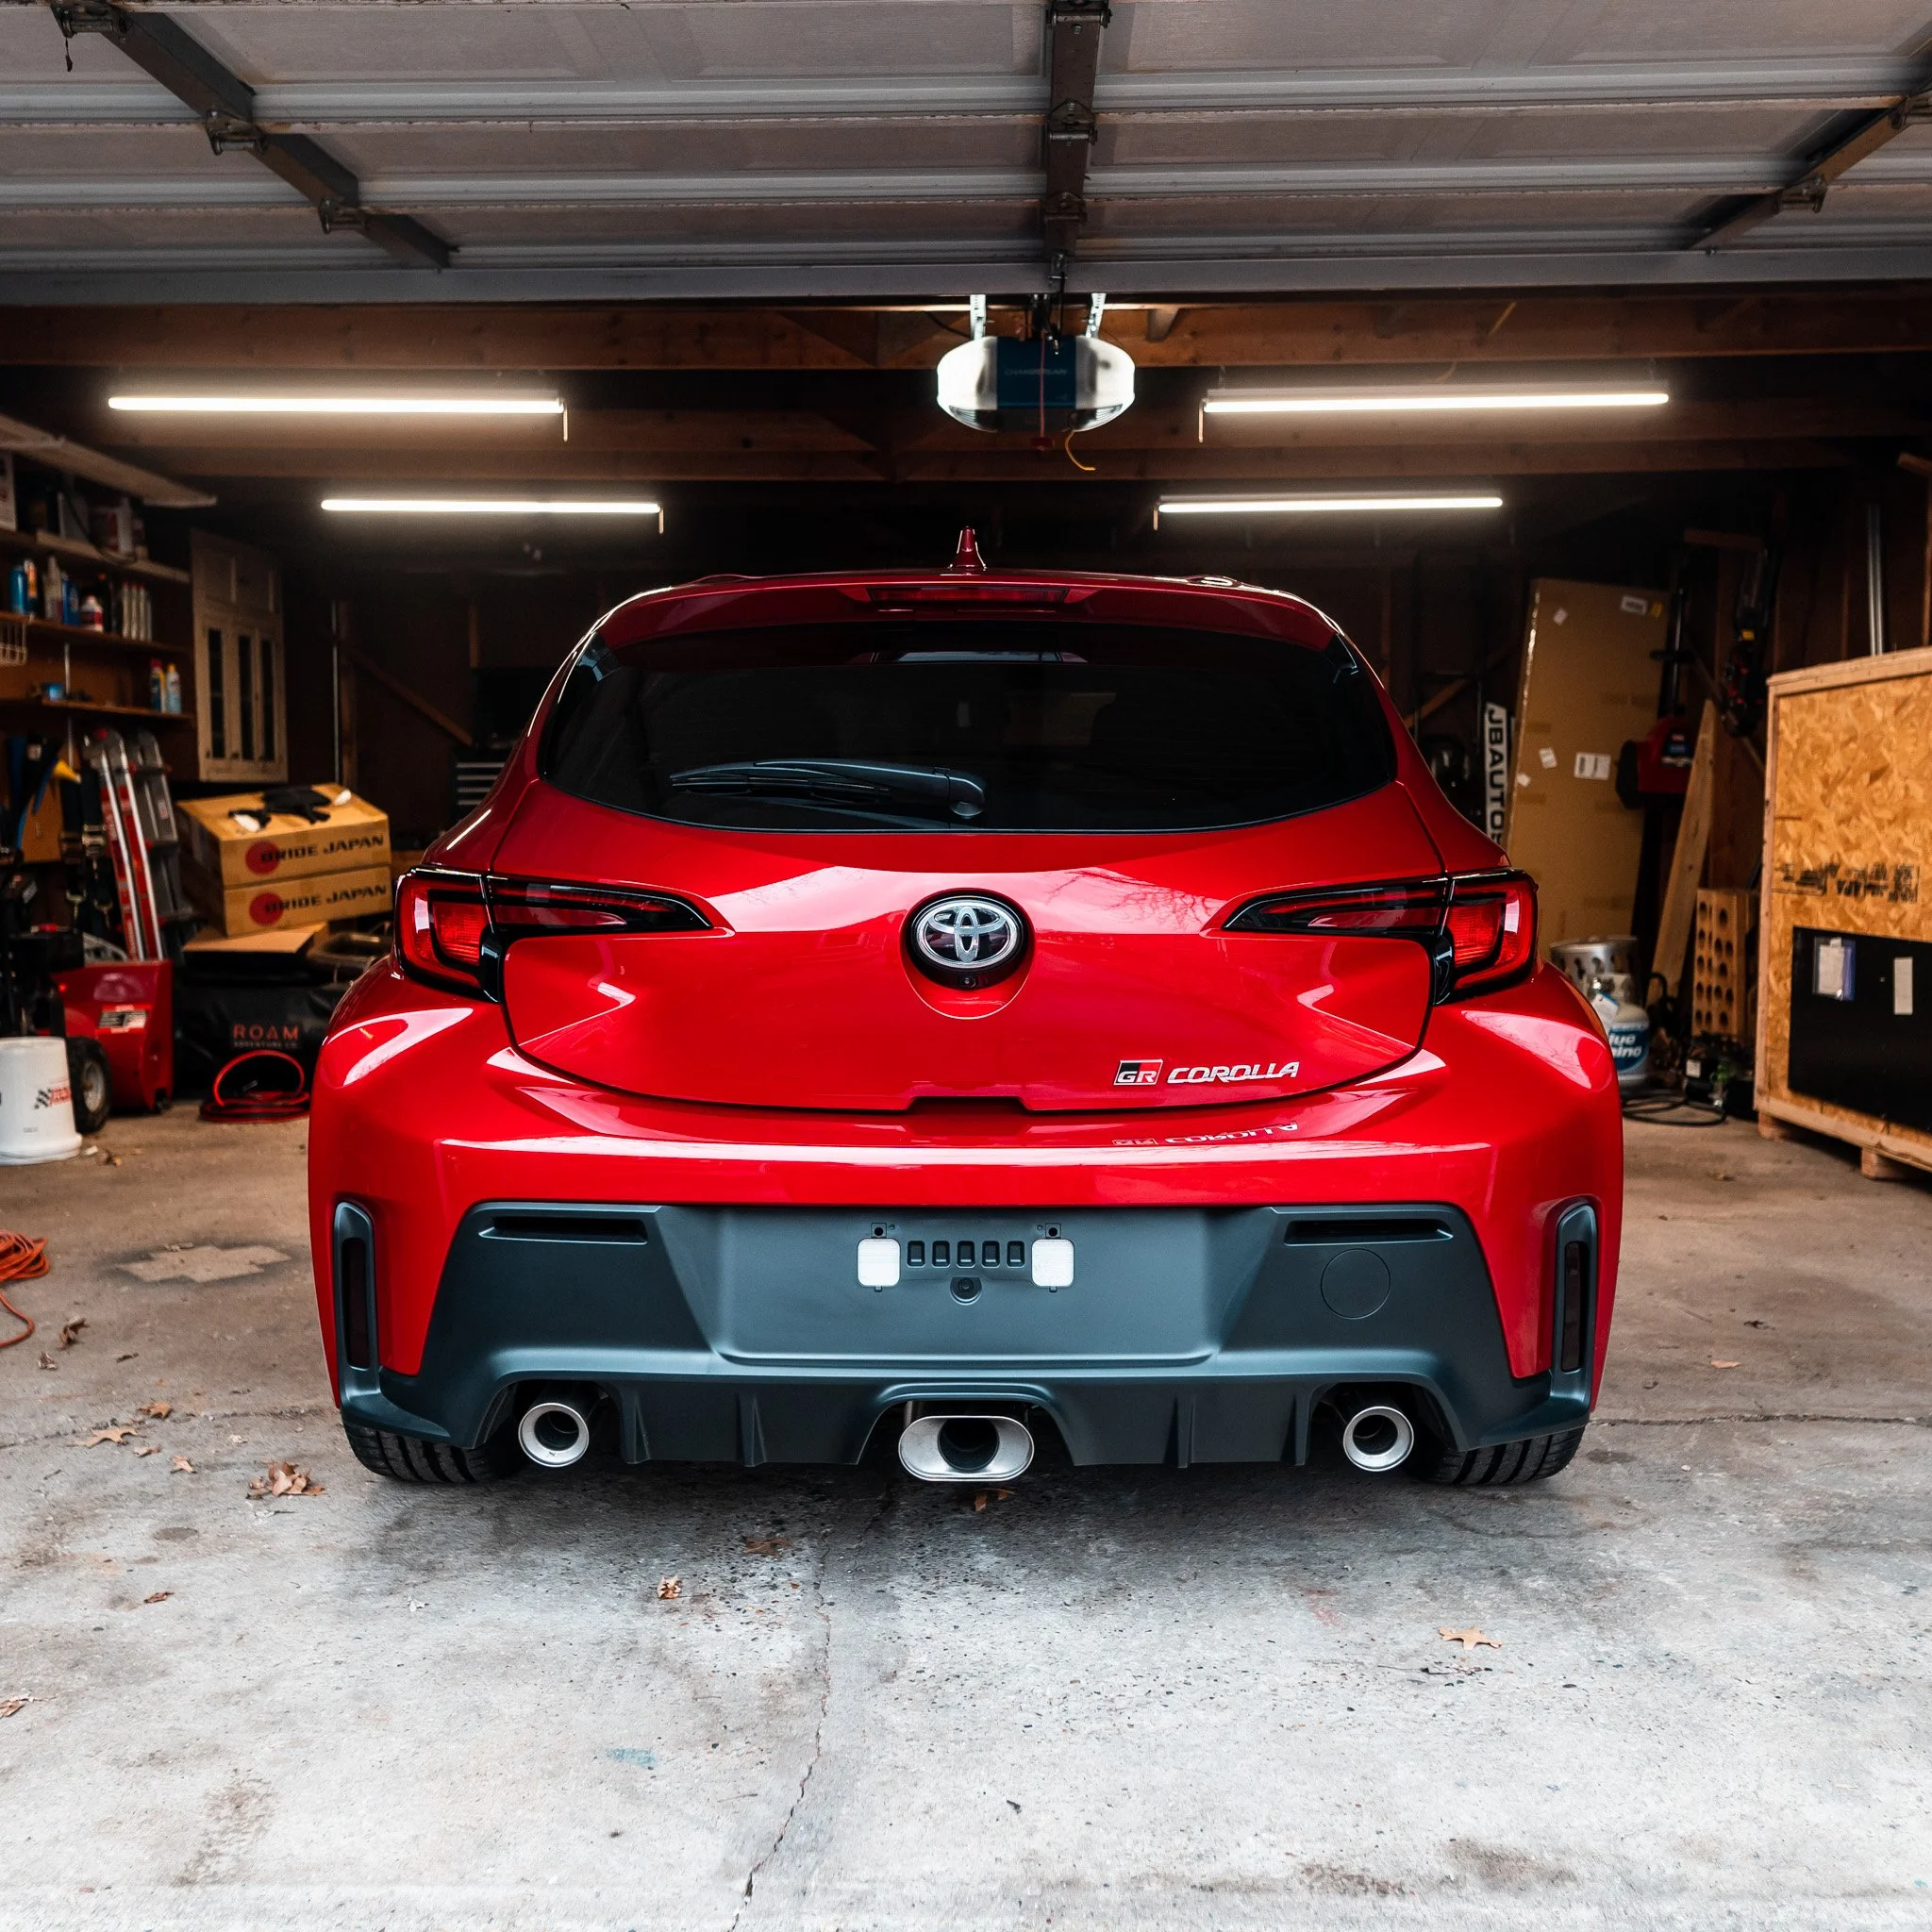
Transform your tail lights into one cohesive stealth design with our Tail Light Overlay Kit. This kit includes 4 different sections to cover both the inner and outer tail light housings in your choice of dark smoke, light smoke, red, or yellow to get rid of the clear lens of the housing. This accentuates the red C light of the brake light and blends the rest of the lights in with the black accents. The turn signal is still easily visible through the tinted overlay.
These overlays are designed and cut in-house using high-quality vinyl to ensure proper fit and finish.
Installation Instructions for DARK SMOKE & LIGHT SMOKE (Dry Application)
Prior to applying the overlay, make sure the surface is thoroughly cleaned and dry.
Carefully peel the overlay off of the backing and use the top edges of the clear section on the tail light to line it up. (Each overlay is marked left or right on the backing sheet.)
The outer section of the tail light has a slight curve to it so use a heat gun to assist in laying the overlay onto the lens. Only a small amount of heat needs to be used. Be careful not to melt the overlay.
You will also need to heat the edges of the overlays that hang in between the two tail light housings. Once heated, you can carefully tuck them around the edge of the tail light housings.
Once you have successfully positioned the overlay where you want it, use a vinyl squeegee or microfiber to remove any air bubbles.
We recommend allowing at least 48hrs before washing the car to allow for the adhesive to cure and avoid directly spraying them with a pressure washer.
The temperature needs to be a minimum of 65°F for proper application.
Installation Instructions for RED & YELLOW (Wet Application)
Prior to applying the overlay, make sure the surface is thoroughly cleaned.
Carefully peel the overlay off of the backing. (Each overlay is marked left or right on the backing sheet.)
Spray the surface of the lens and the overlay with soapy water. (Dawn Soap recommended, just need a drop or two)
Position the overlay on the lens using the top edges of the clear section on the tail light to guide you.
The outer section of the tail light has a slight curve to it so use a heat gun to assist in laying the overlay onto the lens. Only a small amount of heat needs to be used. Be careful not to melt the overlay.
You will also need to heat the edges of the overlays that hang in between the two tail light housings. Once heated, you can carefully tuck them around the edge of the tail light housings.
Once you have successfully positioned the overlay where you want it, use a vinyl squeegee or microfiber to remove any air/water bubbles.
We recommend allowing at least 48hrs before washing the car to allow for the adhesive to cure and avoid directly spraying them with a pressure washer.
The temperature needs to be a minimum of 65°F for proper application.